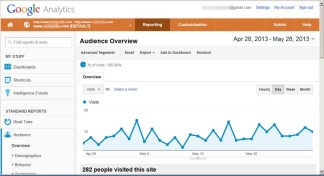
 If you’d like to know how much traffic your website gets (visitors), where it’s coming from (traffic sources), demographics of your visitors, what they do on your site (behavior), how your site performs, a way to track conversions and much more, you should install free website analytics from Google.
It’s much easier to do than you think. You’ll need to have access to the code on your website or blog, so depending on how it was built and how comfortable you are with cutting and pasting a snippet of code, you can do this yourself or have your web developer do it for you.
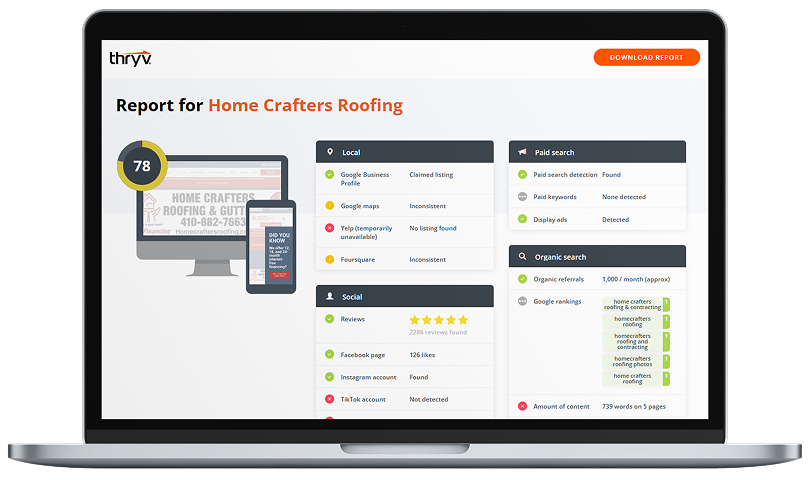
Free: Online Presence Scan
See how your business compares to the competition and find out what customers are saying about you.
Try NowSome web hosting companies and blogging platforms have their own widgets that will make the copying and pasting part of the installation really easy and foolproof. But you’ll still have to create a Google account and add your web property to it.
Step 1
If you don’t have a Google account, create one. Or if your Google account is for personal use, create a new one that is strictly for business use. Why? So you can share this account info with your web developer, employees, IT support, etc. and keep your personal information private.
TIP: Write down your login and password for this and save it in your red folder. To check your analytics, this is the link you use: http://www.google.com/analytics
Step 2
Add your website as a property that you want to track. Click on Get Tracking ID. Copy the code Google provides. It’s a small snippet of asynchronous tracking code using JavaScript that will look something like this (but don’t use this example!):
<script type="text/javascript">

  var _gaq = _gaq || [];
  _gaq.push(['_setAccount', 'UA-XXXXX-Y']);
  _gaq.push(['_trackPageview']);

  (function() {
    var ga = document.createElement('script'); ga.type = 'text/javascript'; ga.async = true;
    ga.src = ('https:' == document.location.protocol ? 'https://ssl' : 'http://www') + '.google-analytics.com/ga.js';
    var s = document.getElementsByTagName('script')[0]; s.parentNode.insertBefore(ga, s);
  })();

</script>
Step 3
Paste the tracking ID code into the code on your web page, just before the closing </head> tag. (which should be near the top of the page of code)
EXAMPLE:
<!DOCTYPE html>
<html lang="en-US">
<head>
<meta charset="UTF-8" />
<title>Your Website</title>

<script type="text/javascript">

  var _gaq = _gaq || [];
  _gaq.push(['_setAccount', 'UA-3######-7']);
  _gaq.push(['_trackPageview']);

  (function() {
    var ga = document.createElement('script'); ga.type = 'text/javascript'; ga.async = true;
    ga.src = ('https:' == document.location.protocol ? 'https://ssl' : 'http://www') + '.google-analytics.com/ga.js';
    var s = document.getElementsByTagName('script')[0]; s.parentNode.insertBefore(ga, s);
  })();

</script>
</head>
You should add this code to every page that you want to track. Most small business websites just track activity to their home page, but you might have a blog also, or specific landing pages you want to track. You use the same code for each page; don’t try to generate different code for each page.
Step 4
Verify that your tracking code is properly added and communicating with Google.
That’s it!
Once your tracking code is installed and verified, you can log in to your Analytics account and set up goals for tracking.
Take a few minutes to look at this very easy-to-follow slide show for help on using Google Analytics and how to set up reports.
Removing Outdated Google Analytics Code
If your website has old Google analytics tracking code on it, remove it before adding the new code. So if you look at the code on your page and scroll all the way to the bottom, you might see something like this:
<script type="text/javascript">
try {
var pageTracker = _gat._getTracker("UA-3######-5");
pageTracker._trackPageview();
} catch(err) {}</script>
</body>
</html>
Or the code may look something like this:
<script src="http://www.google-analytics.com/urchin.js" type="text/javascript">
</script> <script type="text/javascript">
_uacct = "UA-XXXXXXXX";
urchinTracker();
</script>
</body>
</html>
Delete the <script> tag and everything contained in it, leaving the closing </body> and closing </html> tags, so it will now just look like this:
</body>
</html>
To add the new asynchronous tracking code, log in to your GA account, click on the orange Admin tab and then click on the Tracking Info tab. Copy the tracking code from there and paste it into the code at the top of your web page(s) just before the closing </head> tag.
Free: Online Presence Scan
See how your business compares to the competition and find out what customers are saying about you.
Try Now

